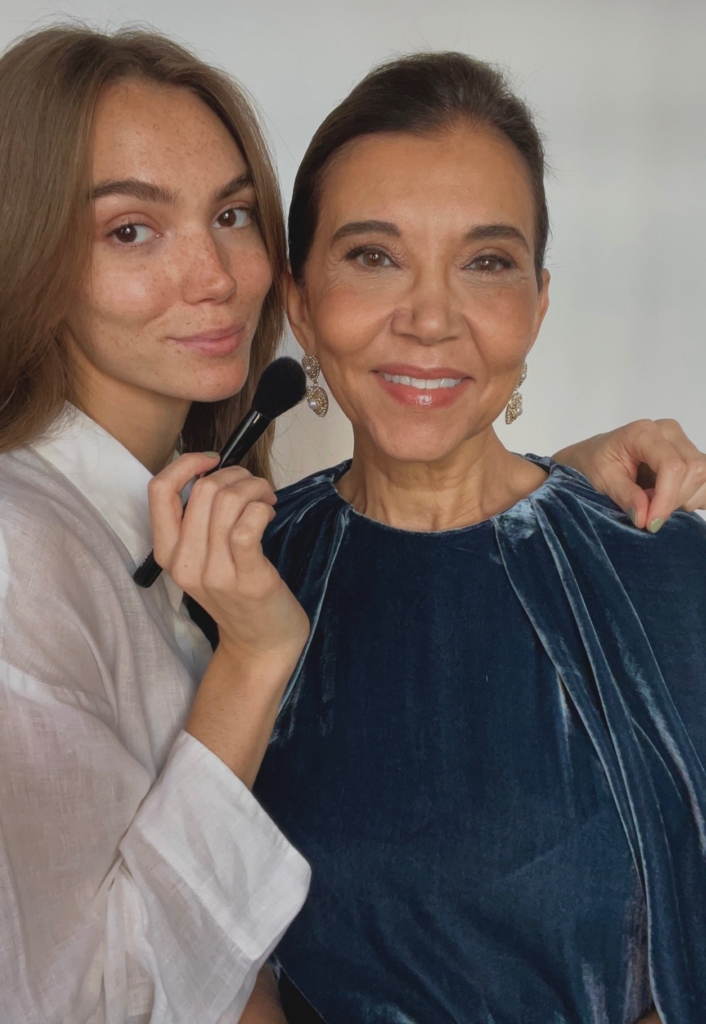
As a makeup artist it is always important for me to make the whole bridal party feel their absolute best on the wedding day. The mother of the bride is no exception. When doing mother of the bride makeup the process can be very different, as often I will be working with more mature skin. Therefore, I need to use different products suitable for their skin needs.
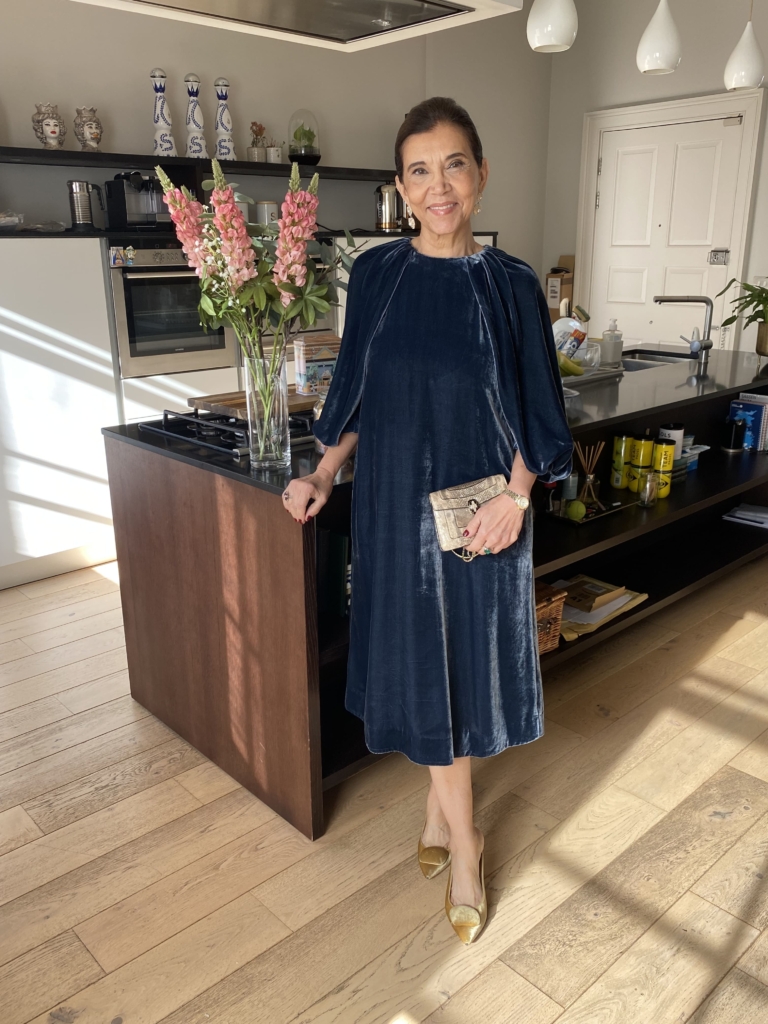
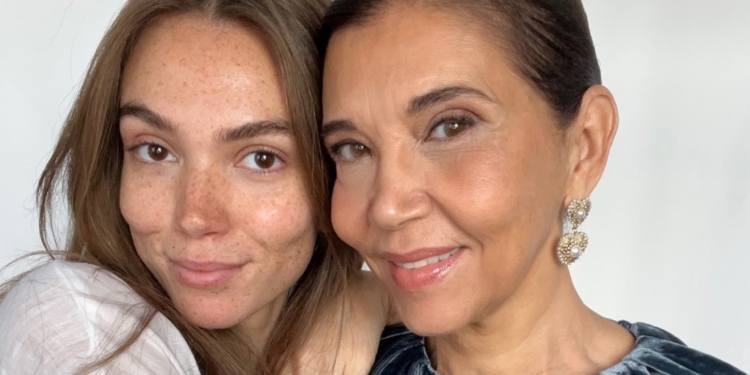
A few months ago, my own mother was attending a friend’s wedding and asked me if I would do her makeup for the event. So I recreated the look that I did on her, at my own sister’s wedding a few years ago. I went with the my signature mother of the bride look, great for those days where you need the makeup to last a full 12 hours. Here are some of my favourite products for mature skin, guaranteed to make you feel more youthful and confident on that special day.

Step 1
Skincare is THE MOST important step when it comes to doing makeup for mature skin. My go-to for this is Augustinus Bader The Rich Cream. It’s a thick formula is really good at smoothing out any deep-set lines create the perfect base for foundation.
Step 2
I can’t leave the house without my 111Skin Rose Gold Radiance Booster. This product is perfect for creating that under skin glow and illuminates the skin so beautifully.
Step 3
The Vanish Airbrush Primer by Hourglass is a must have in my kit when doing mature skin. Its smoothing formula is perfect for blurring out those fine lines and wrinkles.
Step 4
To avoid creasing on the under eyes, it is very important to use an eye cream. That way it prevents any dryness and cracking when you then apply your concealer. I love the Light Aura Eye Cream by Summer Fridays, which contains vitamin C and helps plump the skin and reduces the appearance of dark circles.
Step 5
For light coverage on the skin I applied the Summer Fridays Sheer Skin Tint. It’s a lightweight formula that doesn’t feel heavy on the skin but evens out the skin tone beautifully.
Step 6
When it comes to concealer I like slightly more full coverage concealer which I can build gradually. I only apply this to the areas of concern which are under the eyes, around the nose and any blemishes or dark spots on the skin. For this I used the IL Makiage , F*ck I’m Flawless Concealer.
Step 7
On the brows I like to add a little extra definition than normal. As more mature clients often have sparser brows I always start off with a Clear Brow Gel from Caia and fill in the gaps with my Laura Mercier Brow Pencil.
Step 8
To contour the face I use my go to Charlotte Tilbury Hollywood Contour Wand. It’s cream formula is great for blending into mature skin. The areas I like to contour are underneath the cheekbones around the forehead and down the jawline.
Step 9
For the eyes I like to keep things very natural and stick to neutral brown tones. For this I used my Sultry Stories Sculpted Eyeshadow Palette which contains all the perfect bridal tones, making it easy to create gorgeous smoky shadows. To make the eyes pop on camera I used the Dusty Brown Sweed Beauty Eye Pencil. Due to its cold like formula this pencil is very easy to blend, especially for women who have looser skin around their eyelids. To finish off the eyes, I applied my go to Waterproof Lash Lift Mascara from Sweed Beauty.
Step 10
I added a little extra colour to the skin with the Chanel Soleil Tan Bronzer – this cream based product sets great on the skin and lasts all day. I then added the Giorgio Armani A-Blush – a stunning liquid blush which I sometimes like to use as a lip tint or eyeshadow as well.
Step 11
On the lips I used the Laura Mercier Lip Rosewood liner and Rose Inc Besotted Lipstick. Perfect shades for enhancing your natural lip colour.
Step 12
To finish off the look I used That Dewy Glow Setting Spray from Caia. Guaranteed to make the makeup last all day and night!

Related Article: How To DIY Your Own Bridal Makeup


