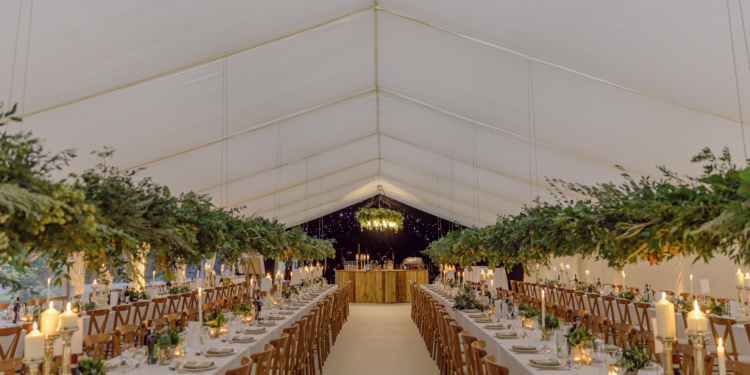
Decorating a marquee for a wedding can transform an ordinary tent into a magical and memorable venue. The right decor can set the tone and ambience for your special day, creating a beautiful backdrop for your celebration. Follow these steps by Cleo Alexiou, founder of Cleo Alexiou Luxury Weddings and Events, to decorate your wedding marquee beautifully.
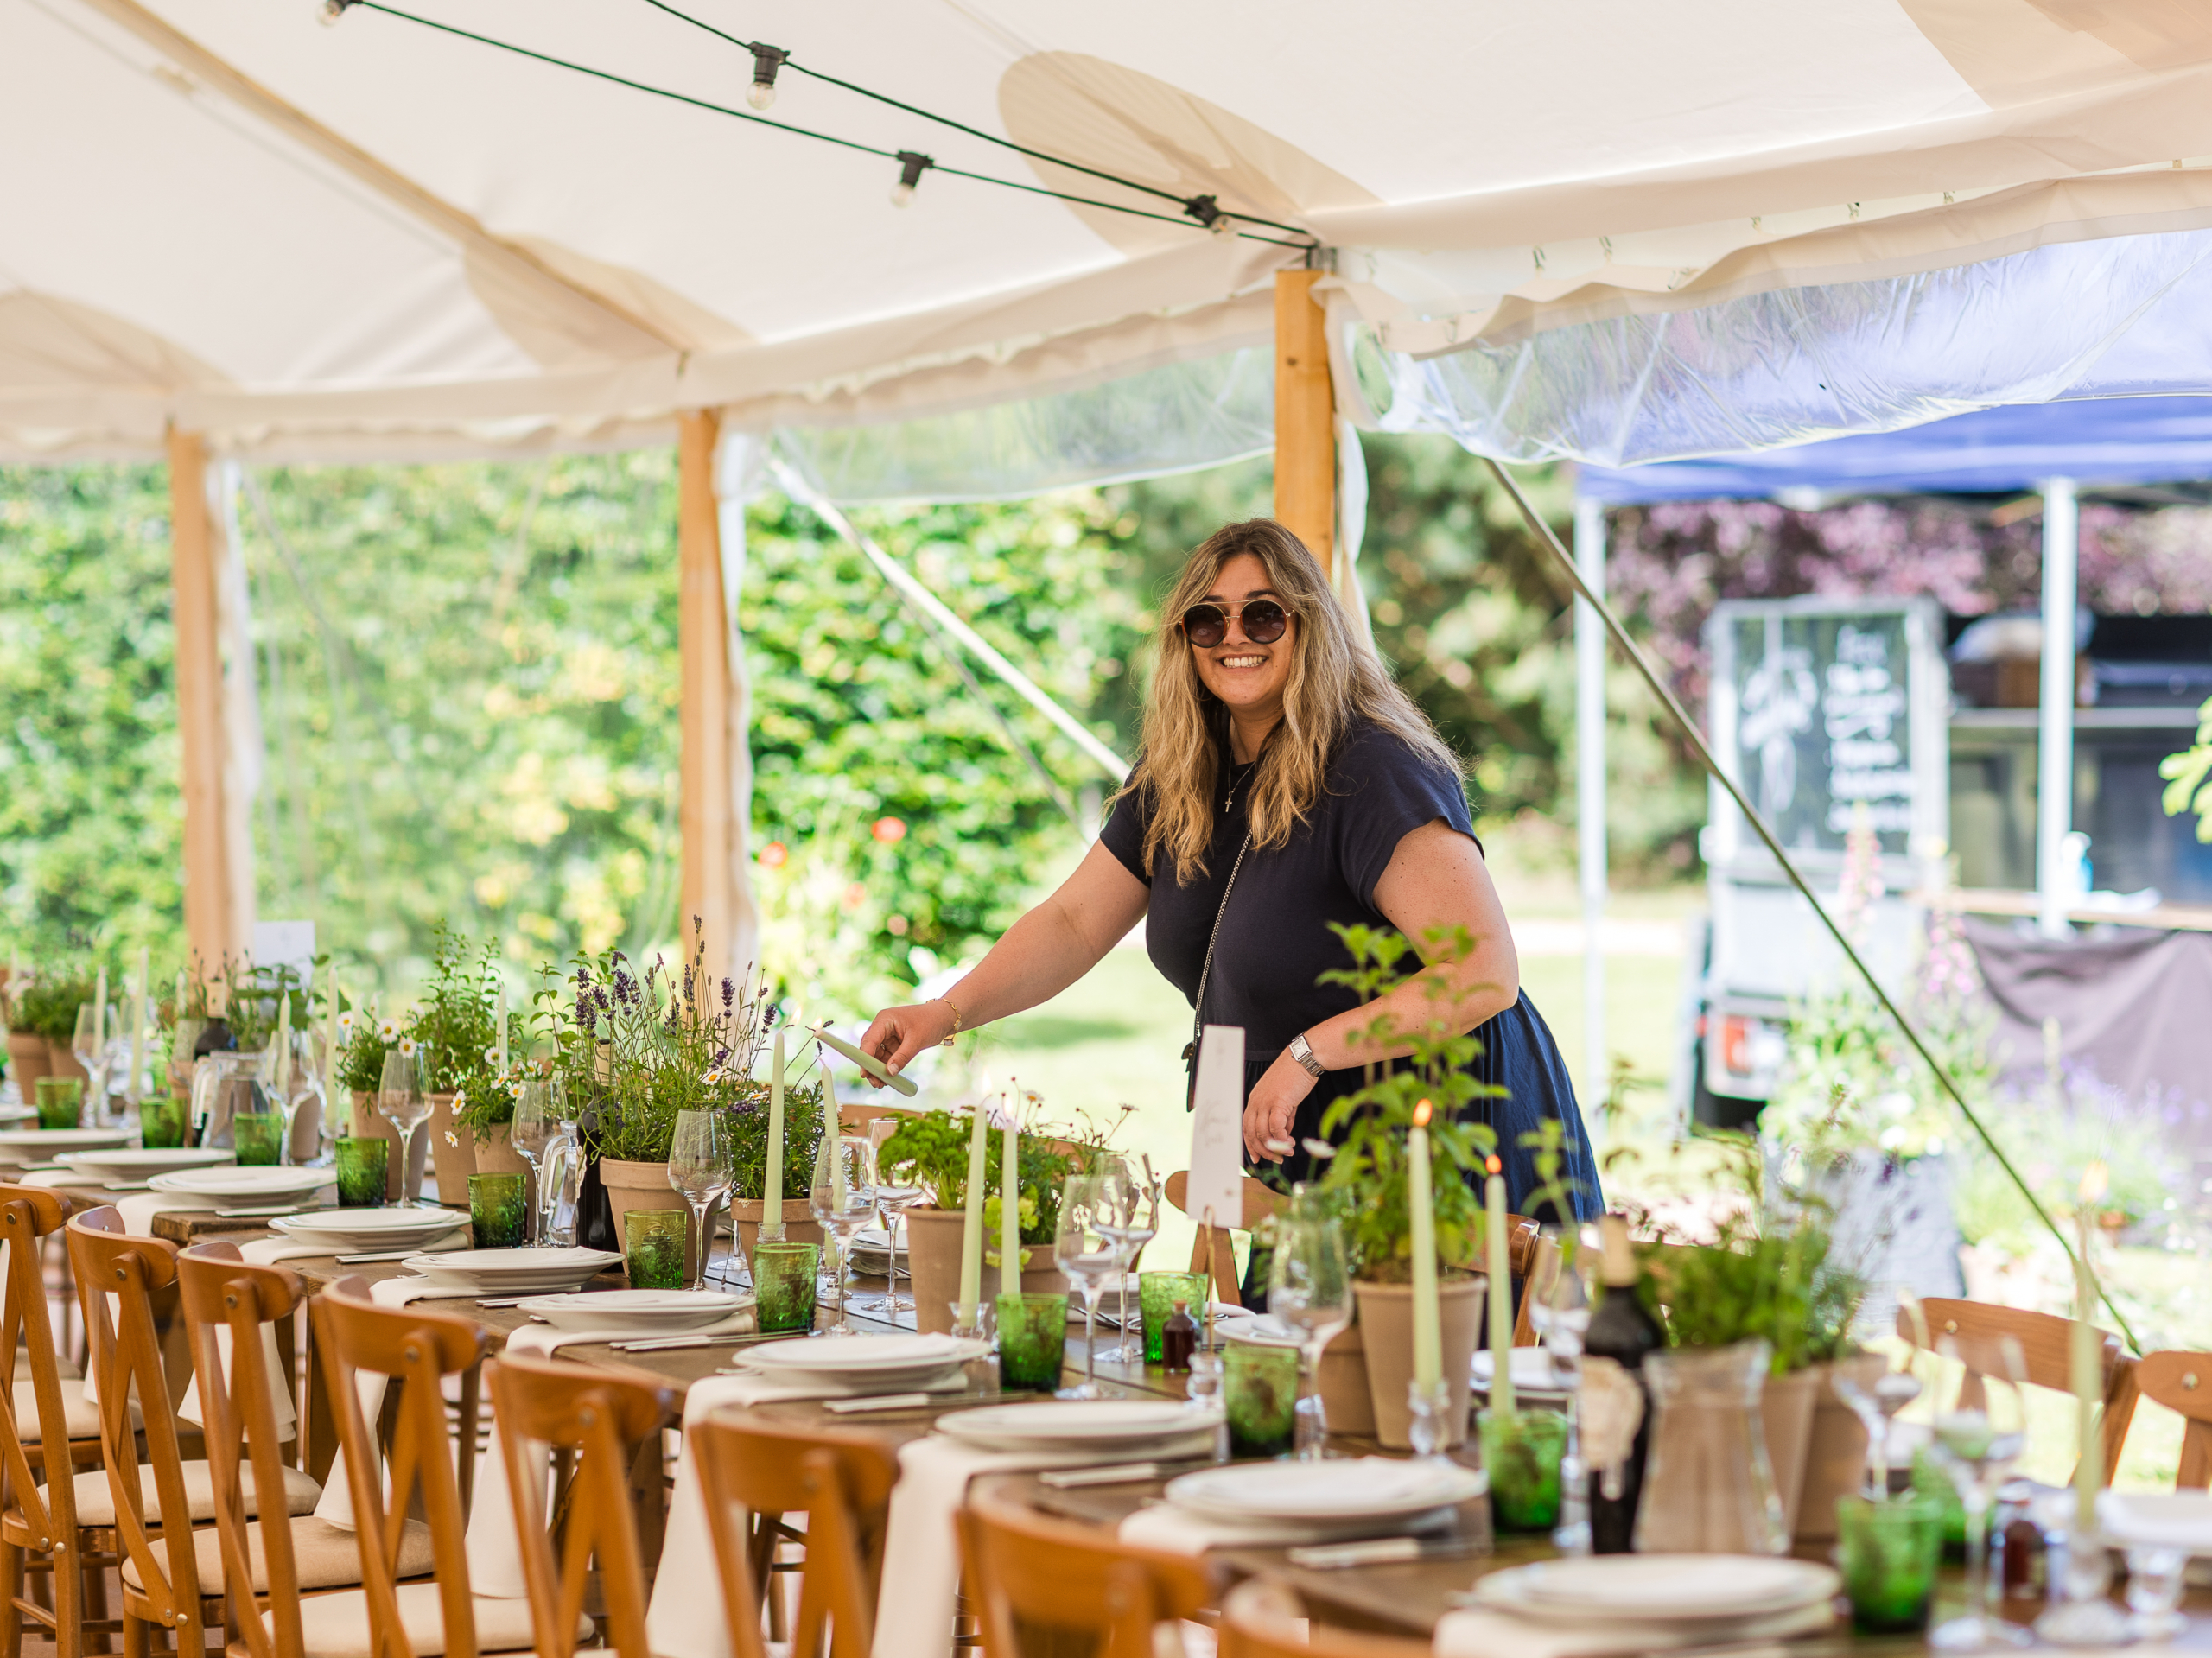
Step 1: Plan Your Theme & Layout
The first step in decorating a wedding marquee is selecting a theme that mirrors your personality and vision for the day. This choice will shape everything from the colour palette to the flowers and lighting.
Choosing A Theme:
- Consider your style as a couple: are you classic and elegant, rustic and relaxed, or perhaps vintage or whimsical? The theme should undeniably reflect you both.
- Once decided, choose a colour scheme that matches. For elegance, think ivory, gold, and blush; for rustic, earthy tones like browns and greens; and for vintage, opt for pastels and lace accents.
Planning The Layout:
- With the theme and colours in mind, you can start to plan the marquee’s layout. Consider the flow for dining, dancing, and special features like photo booths or cocktail bars.
- Place key elements like the stage or main seating area, dining spaces, and the dance floor, ensuring your guests have plenty of space for movement.
Step 2: Choose Your Lighting
Lighting is absolutely crucial for setting the mood in your wedding marquee. The right lighting can create anything from a romantic, intimate atmosphere to a bright, festive one.
Creating The Desired Ambience:
- String Lights and Fairy Lights: Ideal for a warm, inviting feel— especially when draped across ceilings or around the marquee’s perimeter— fairy lights add a magical touch, and are perfect for weaving through greenery or behind the lining of the marquee.
- Chandeliers and Elegant Fixtures: These sparkling elements add sophistication, serve as focal points above dining or dancing areas, and can range from vintage to modern styles.
- Cleo’s top tip is to not forget a mirror ball! These create such a romantic, twinkly moment during a first dance.
Highlighting And Accenting:
- Uplighting: Great for highlighting specific areas, uplighting can illuminate walls or architectural features, adding depth and drama. It can also match or contrast with the colour scheme.
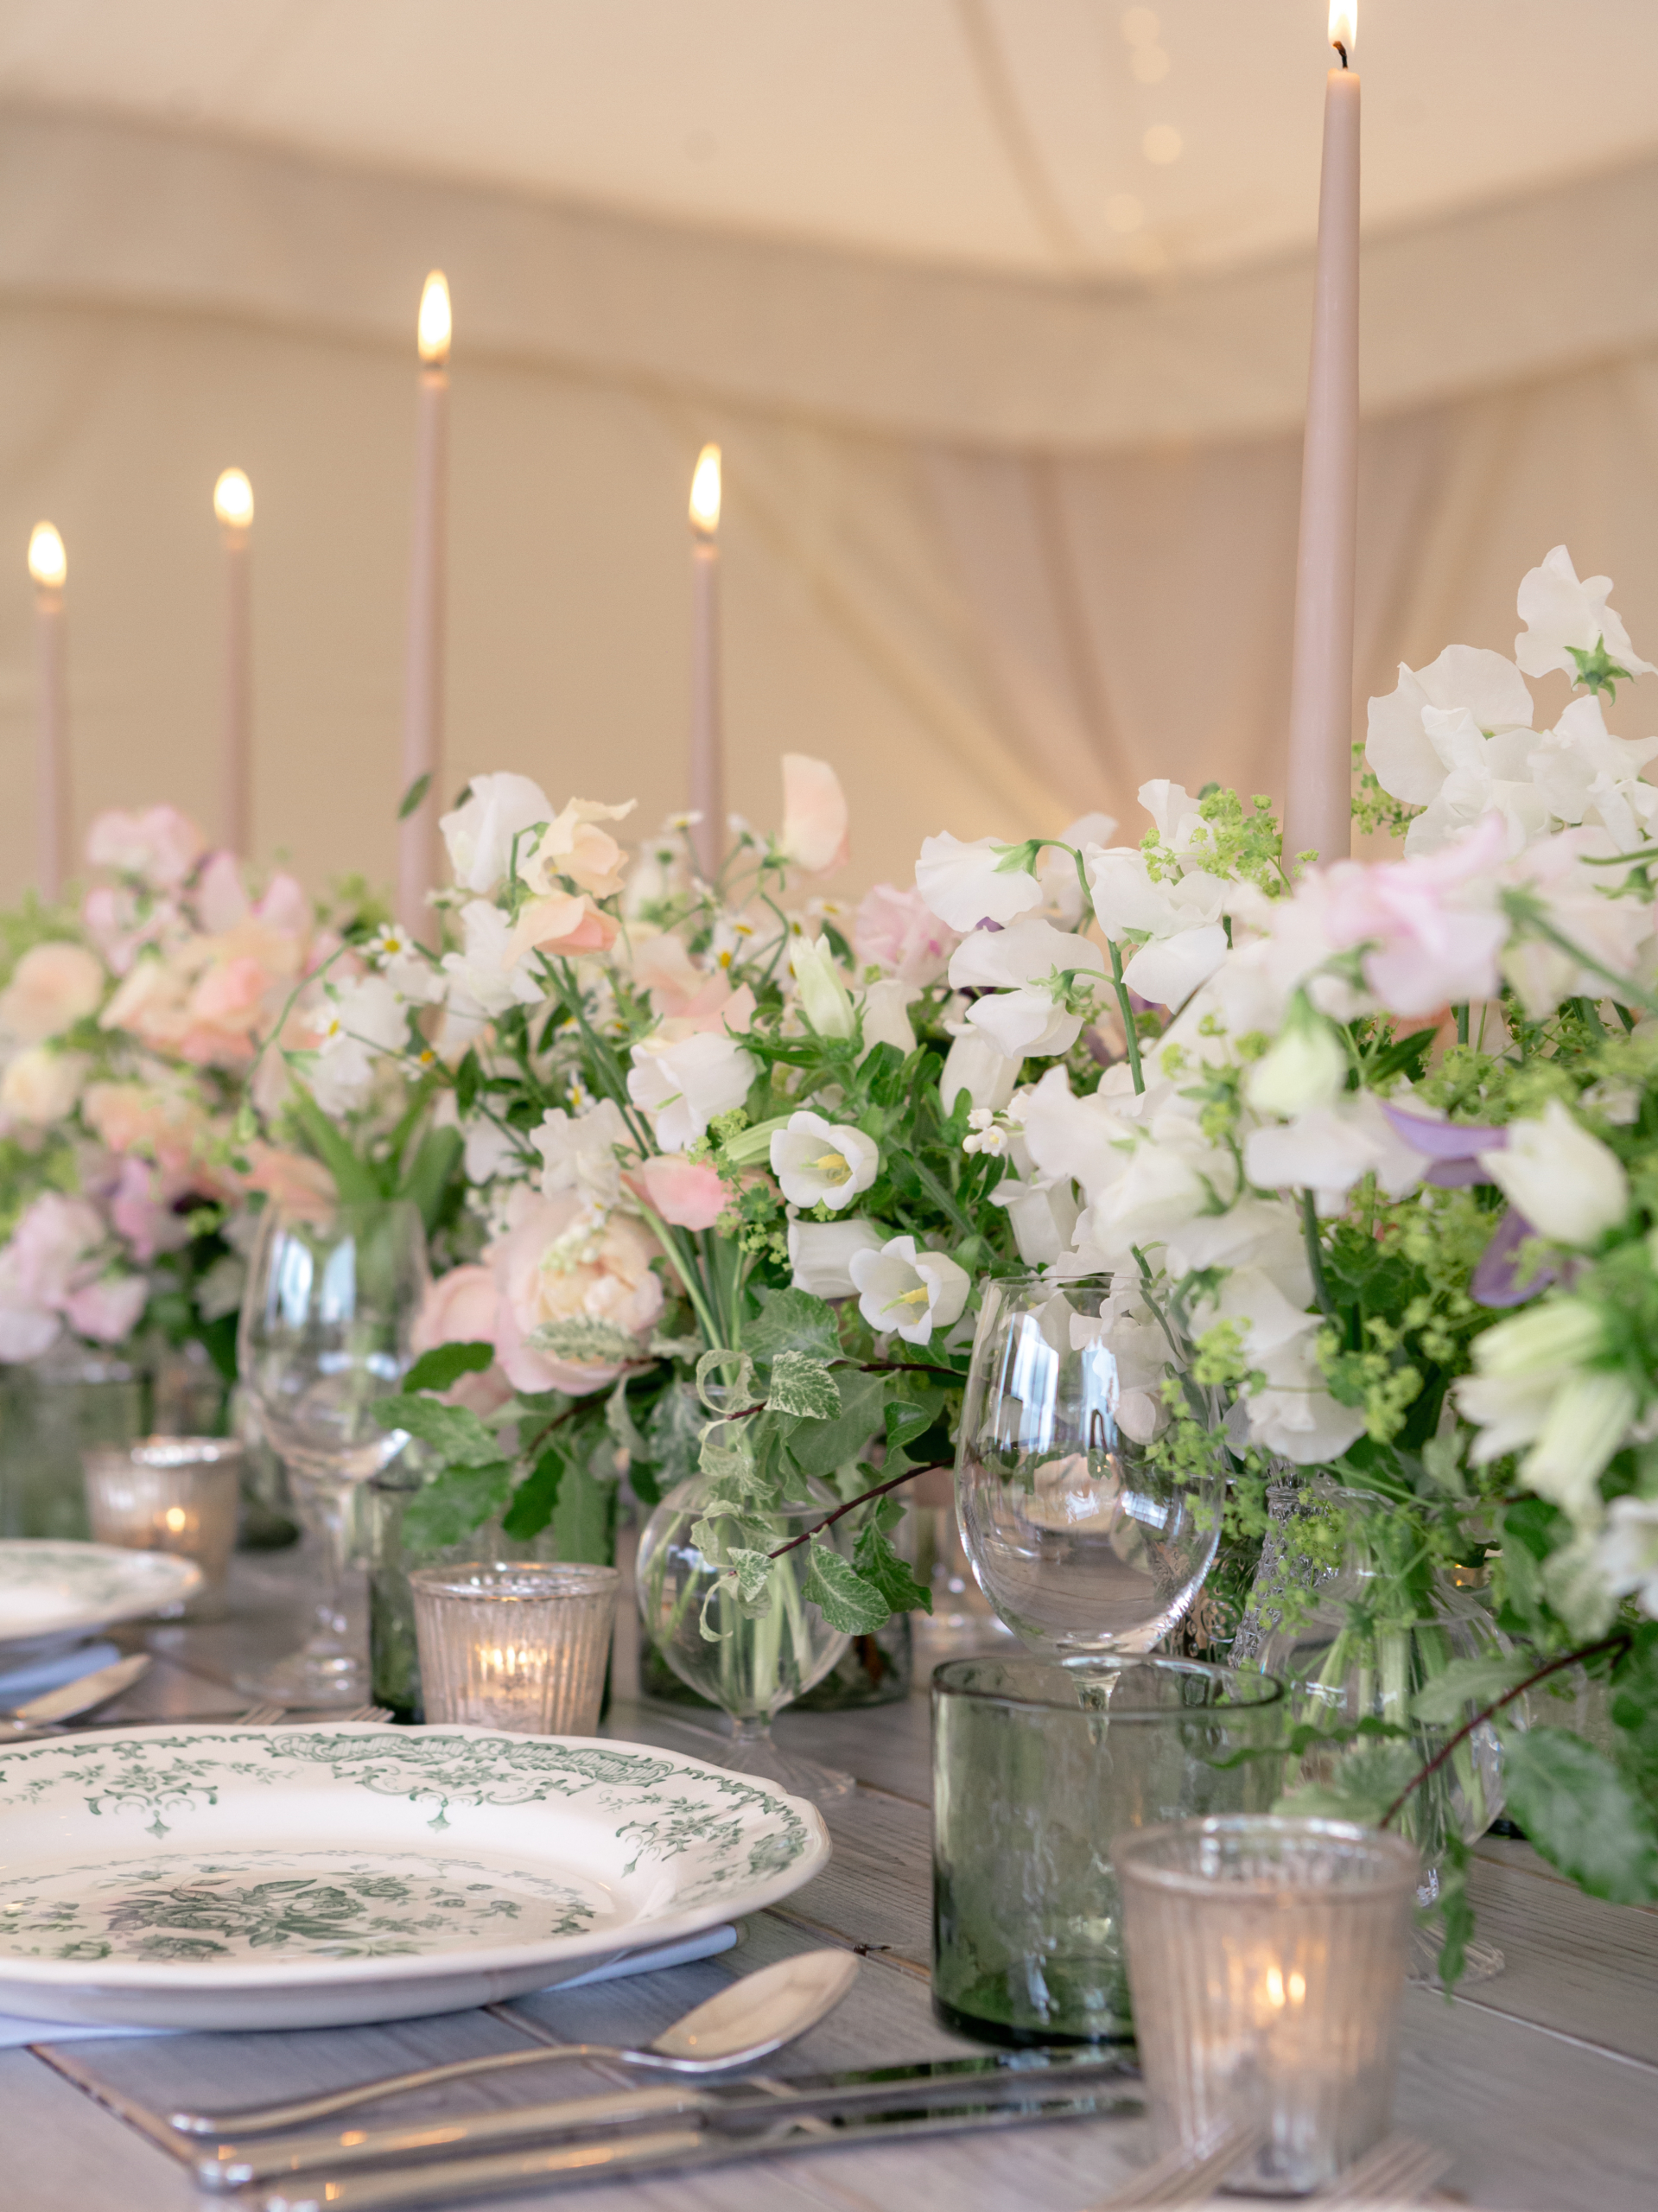
- Lanterns and Candles: For a cosy, romantic atmosphere, lanterns and candles provide a soft, flickering glow, ideal for walkways or table centrepieces.
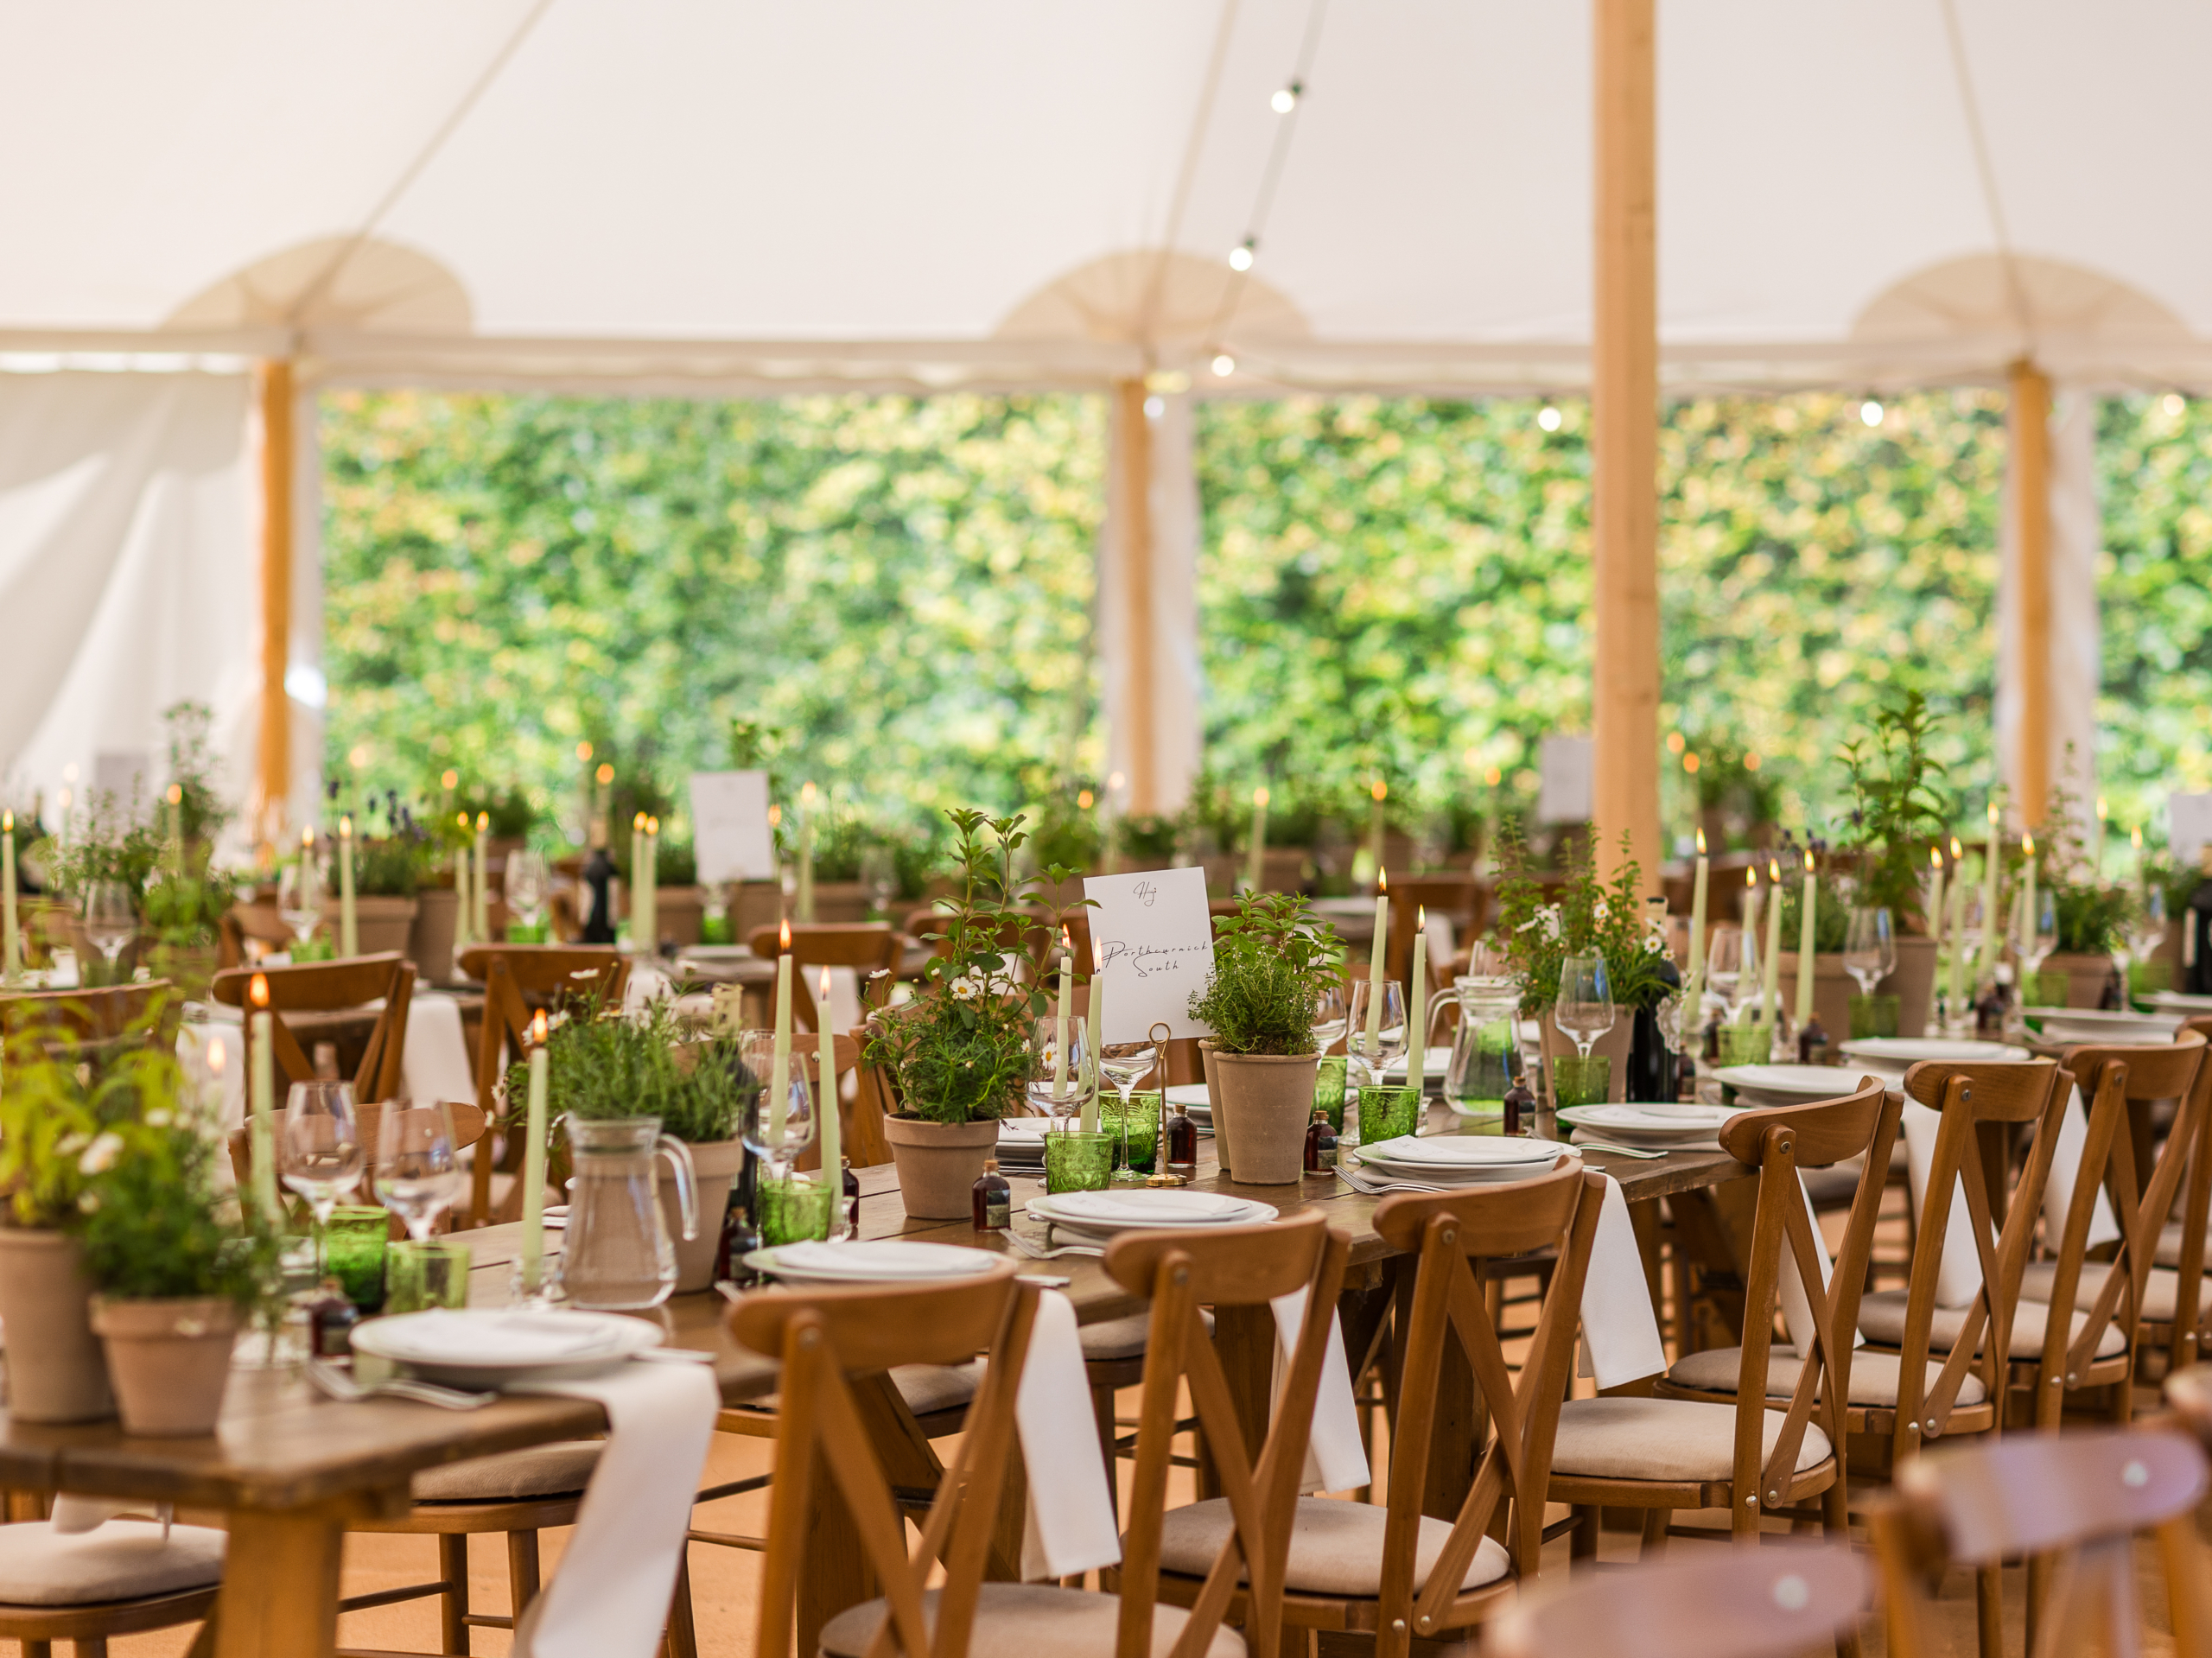
Step 3: Decorate The Entrance
The marquee entrance’s sets the first impression, welcomes guests, and sets the tone for the celebration.
Creating a Stunning Entryway:
- Floral Arches: A classic choice, these can be made from fresh flowers and greenery and tailored to match the theme. Select lush blooms for a garden wedding, or wildflowers for a rustic feel.
- Balloon Arches: Perfect for a playful or whimsical theme, mix and match balloons in colours coordinated to your theme, paired with lights or fabric for added effect.
Welcoming Pathways and Decor:
- Themed Carpets or Rugs: Lay a themed carpet or rug— such as a Persian rug for vintage wedding or a jute rug for a rustic feel— to lead guests into the marquee and set the tone.
- Welcome Signs and Decorative Elements: Custom signs and elements like lanterns, candles, or themed props help to enhance the entrance, and personalise the welcome.
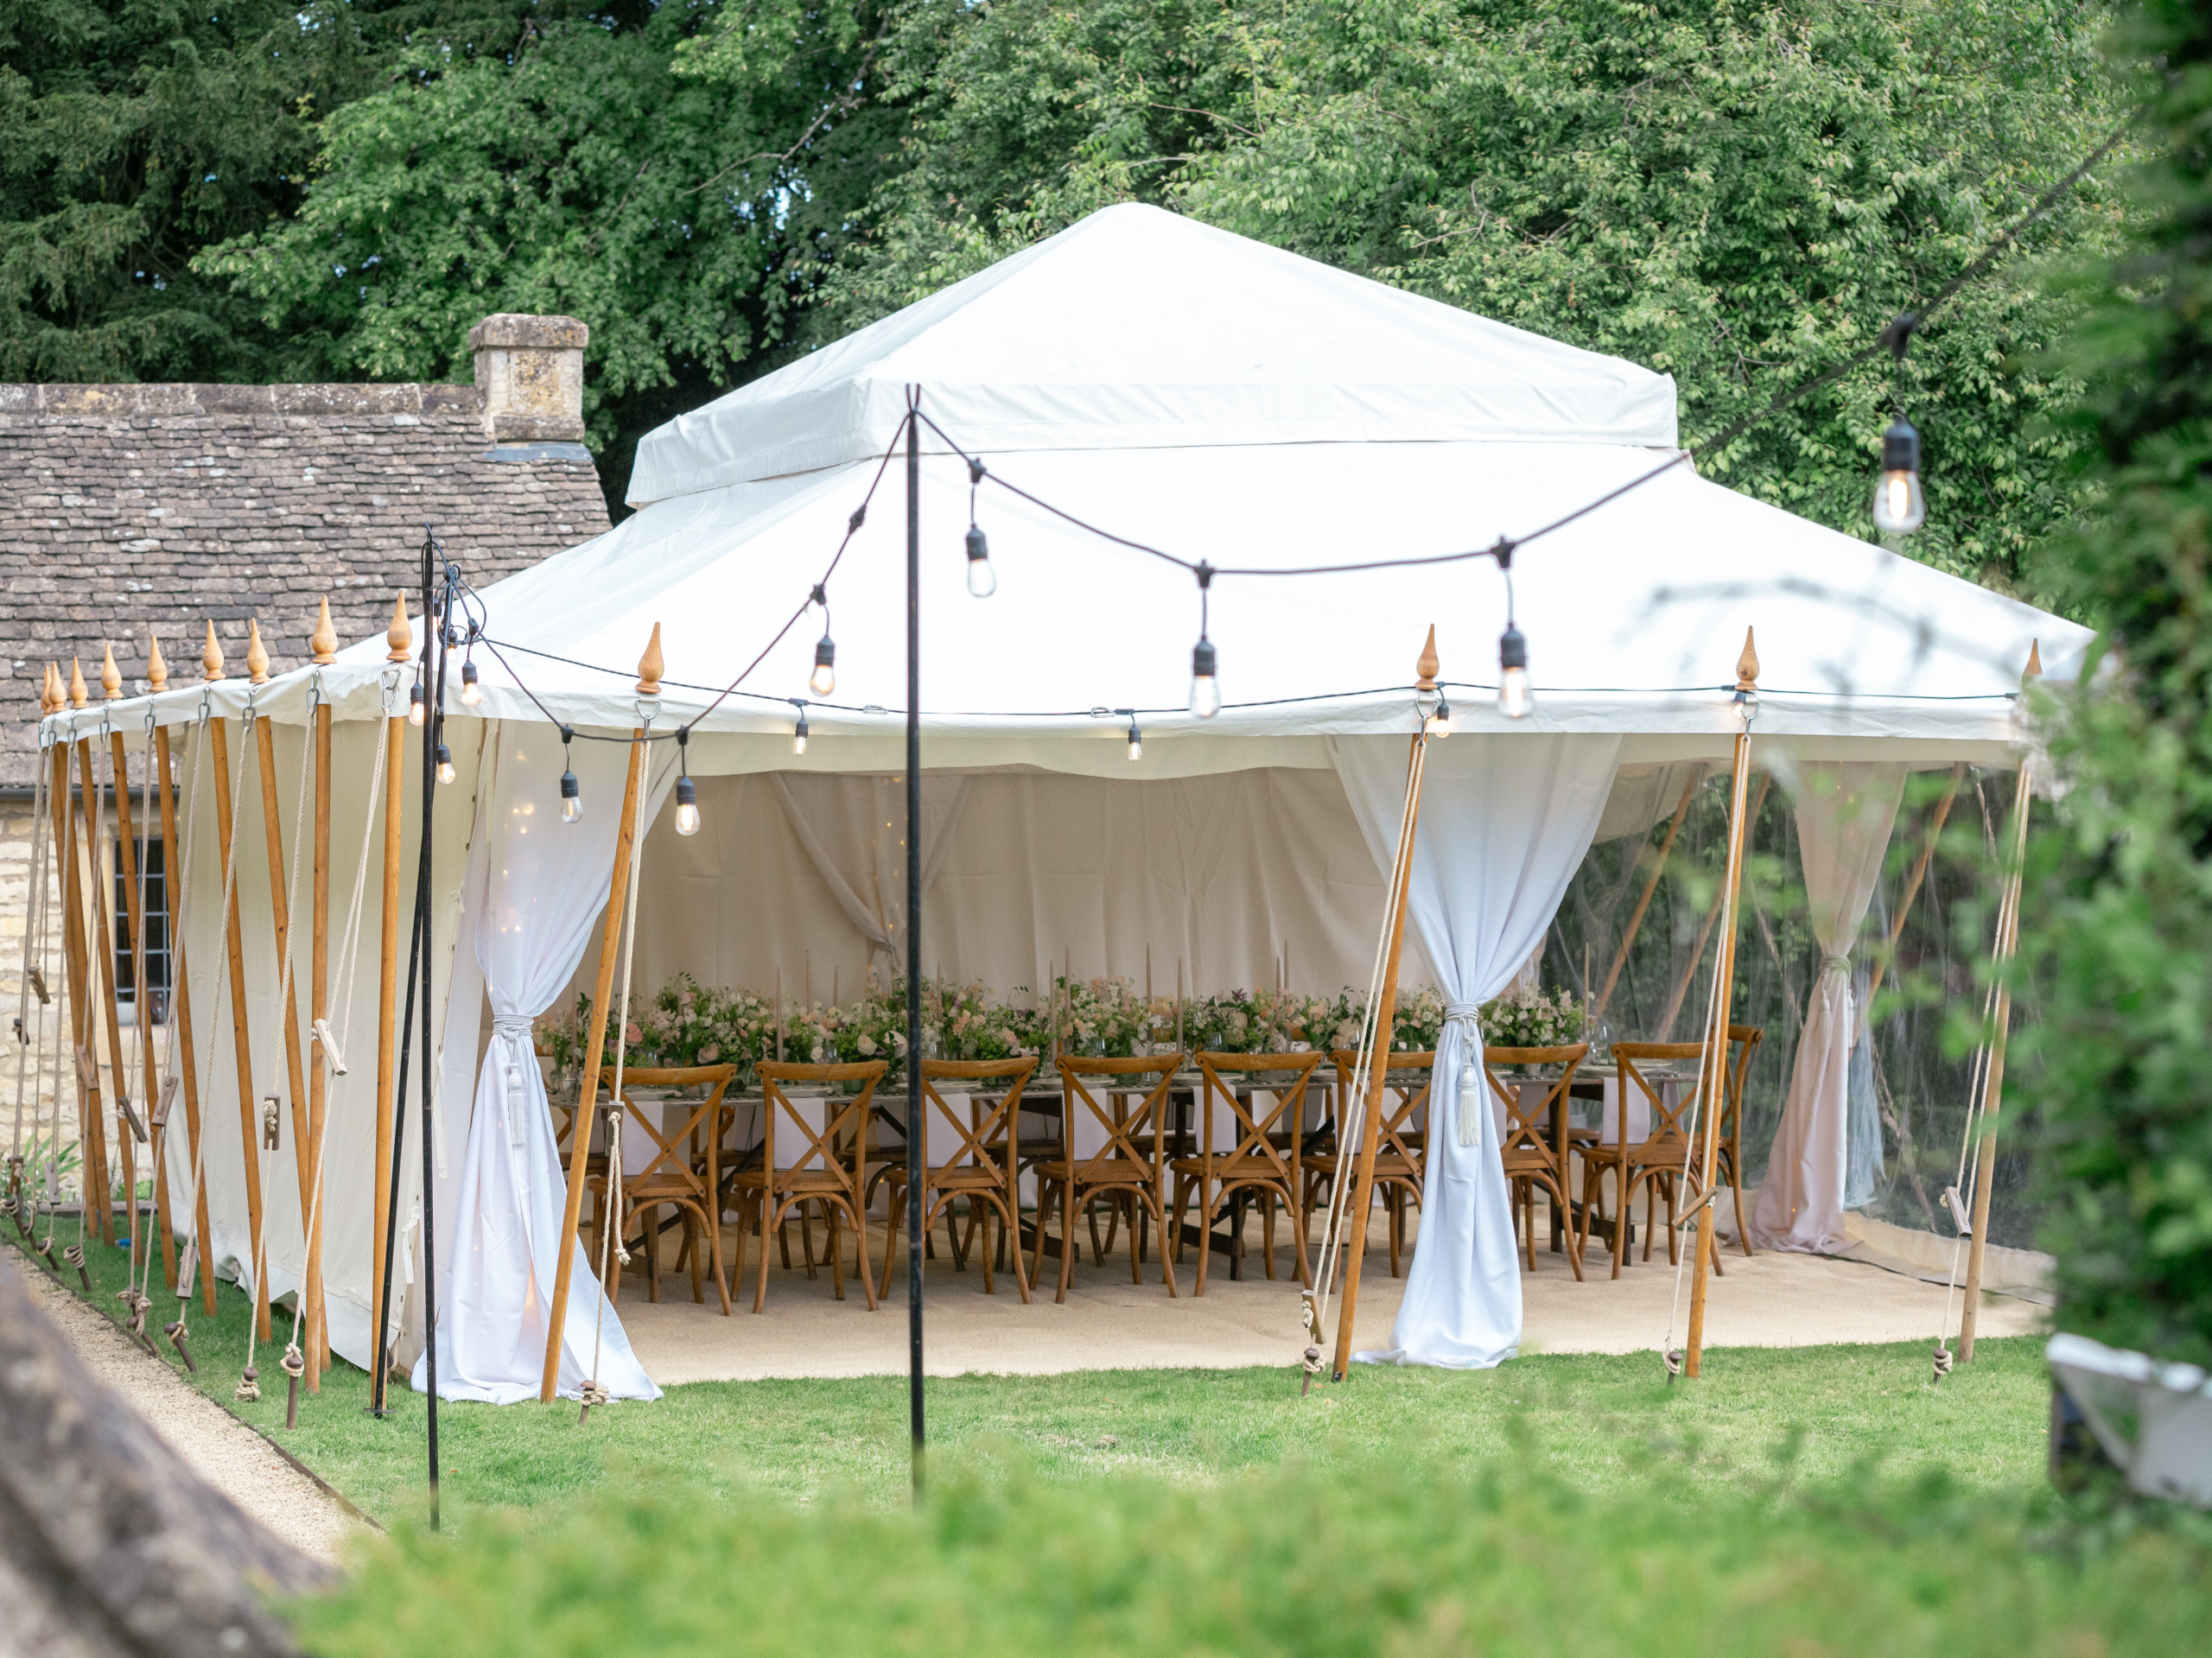
Step 4: Dress The Ceiling
Decorating the ceiling can transform your marquee, making it a dramatic focal point.
Elegant Draping:
- Fabric Swags: Use luxurious fabrics like silk or chiffon in colours matching the theme, arranged in elegant patterns to add texture and movement.
Suspended Decorations:
- Lanterns: These create a vibrant look and can be hung at varying heights for a dynamic effect.
- Chandeliers: Build sophistication with chandeliers— either traditional or modern— complemented by other lighting.
Natural Elements:
- Greenery and Floral Arrangements: Incorporate garlands of greenery or hanging floral installations for a fresh, natural feel that can reflect a marquee’s surroundings.
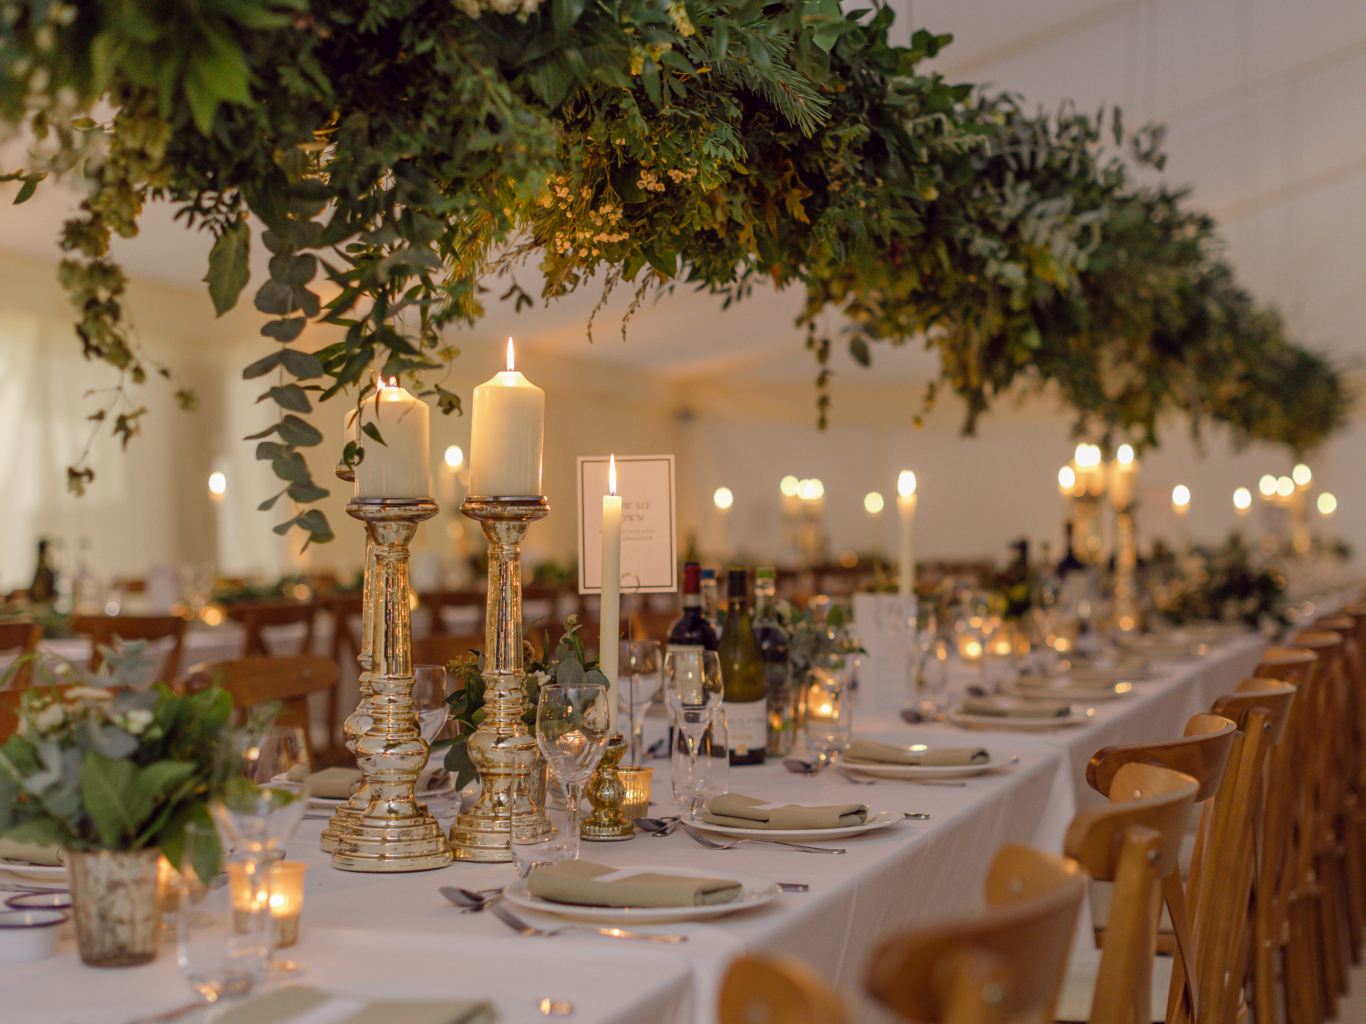
Step 5: Arrange The Furniture
Arranging furniture effectively is key to a functional and stylish marquee.
Choosing the Right Furniture:
- Tables and Chairs: Choose styles that fit the theme, whether they are classic round tables and elegant chairs, or rustic banquet tables with vintage seating. Chiavari chairs are always a great choice, no mater the theme.
Creating Lounge Areas:
- Lounge Seating: Provide cosy spaces with sofas and armchairs, offering guests a retreat.
Optimising the Layout:
- Flow and Accessibility: Ensure furniture placement facilitates easy movement and access to key areas like the dance floor or bar.
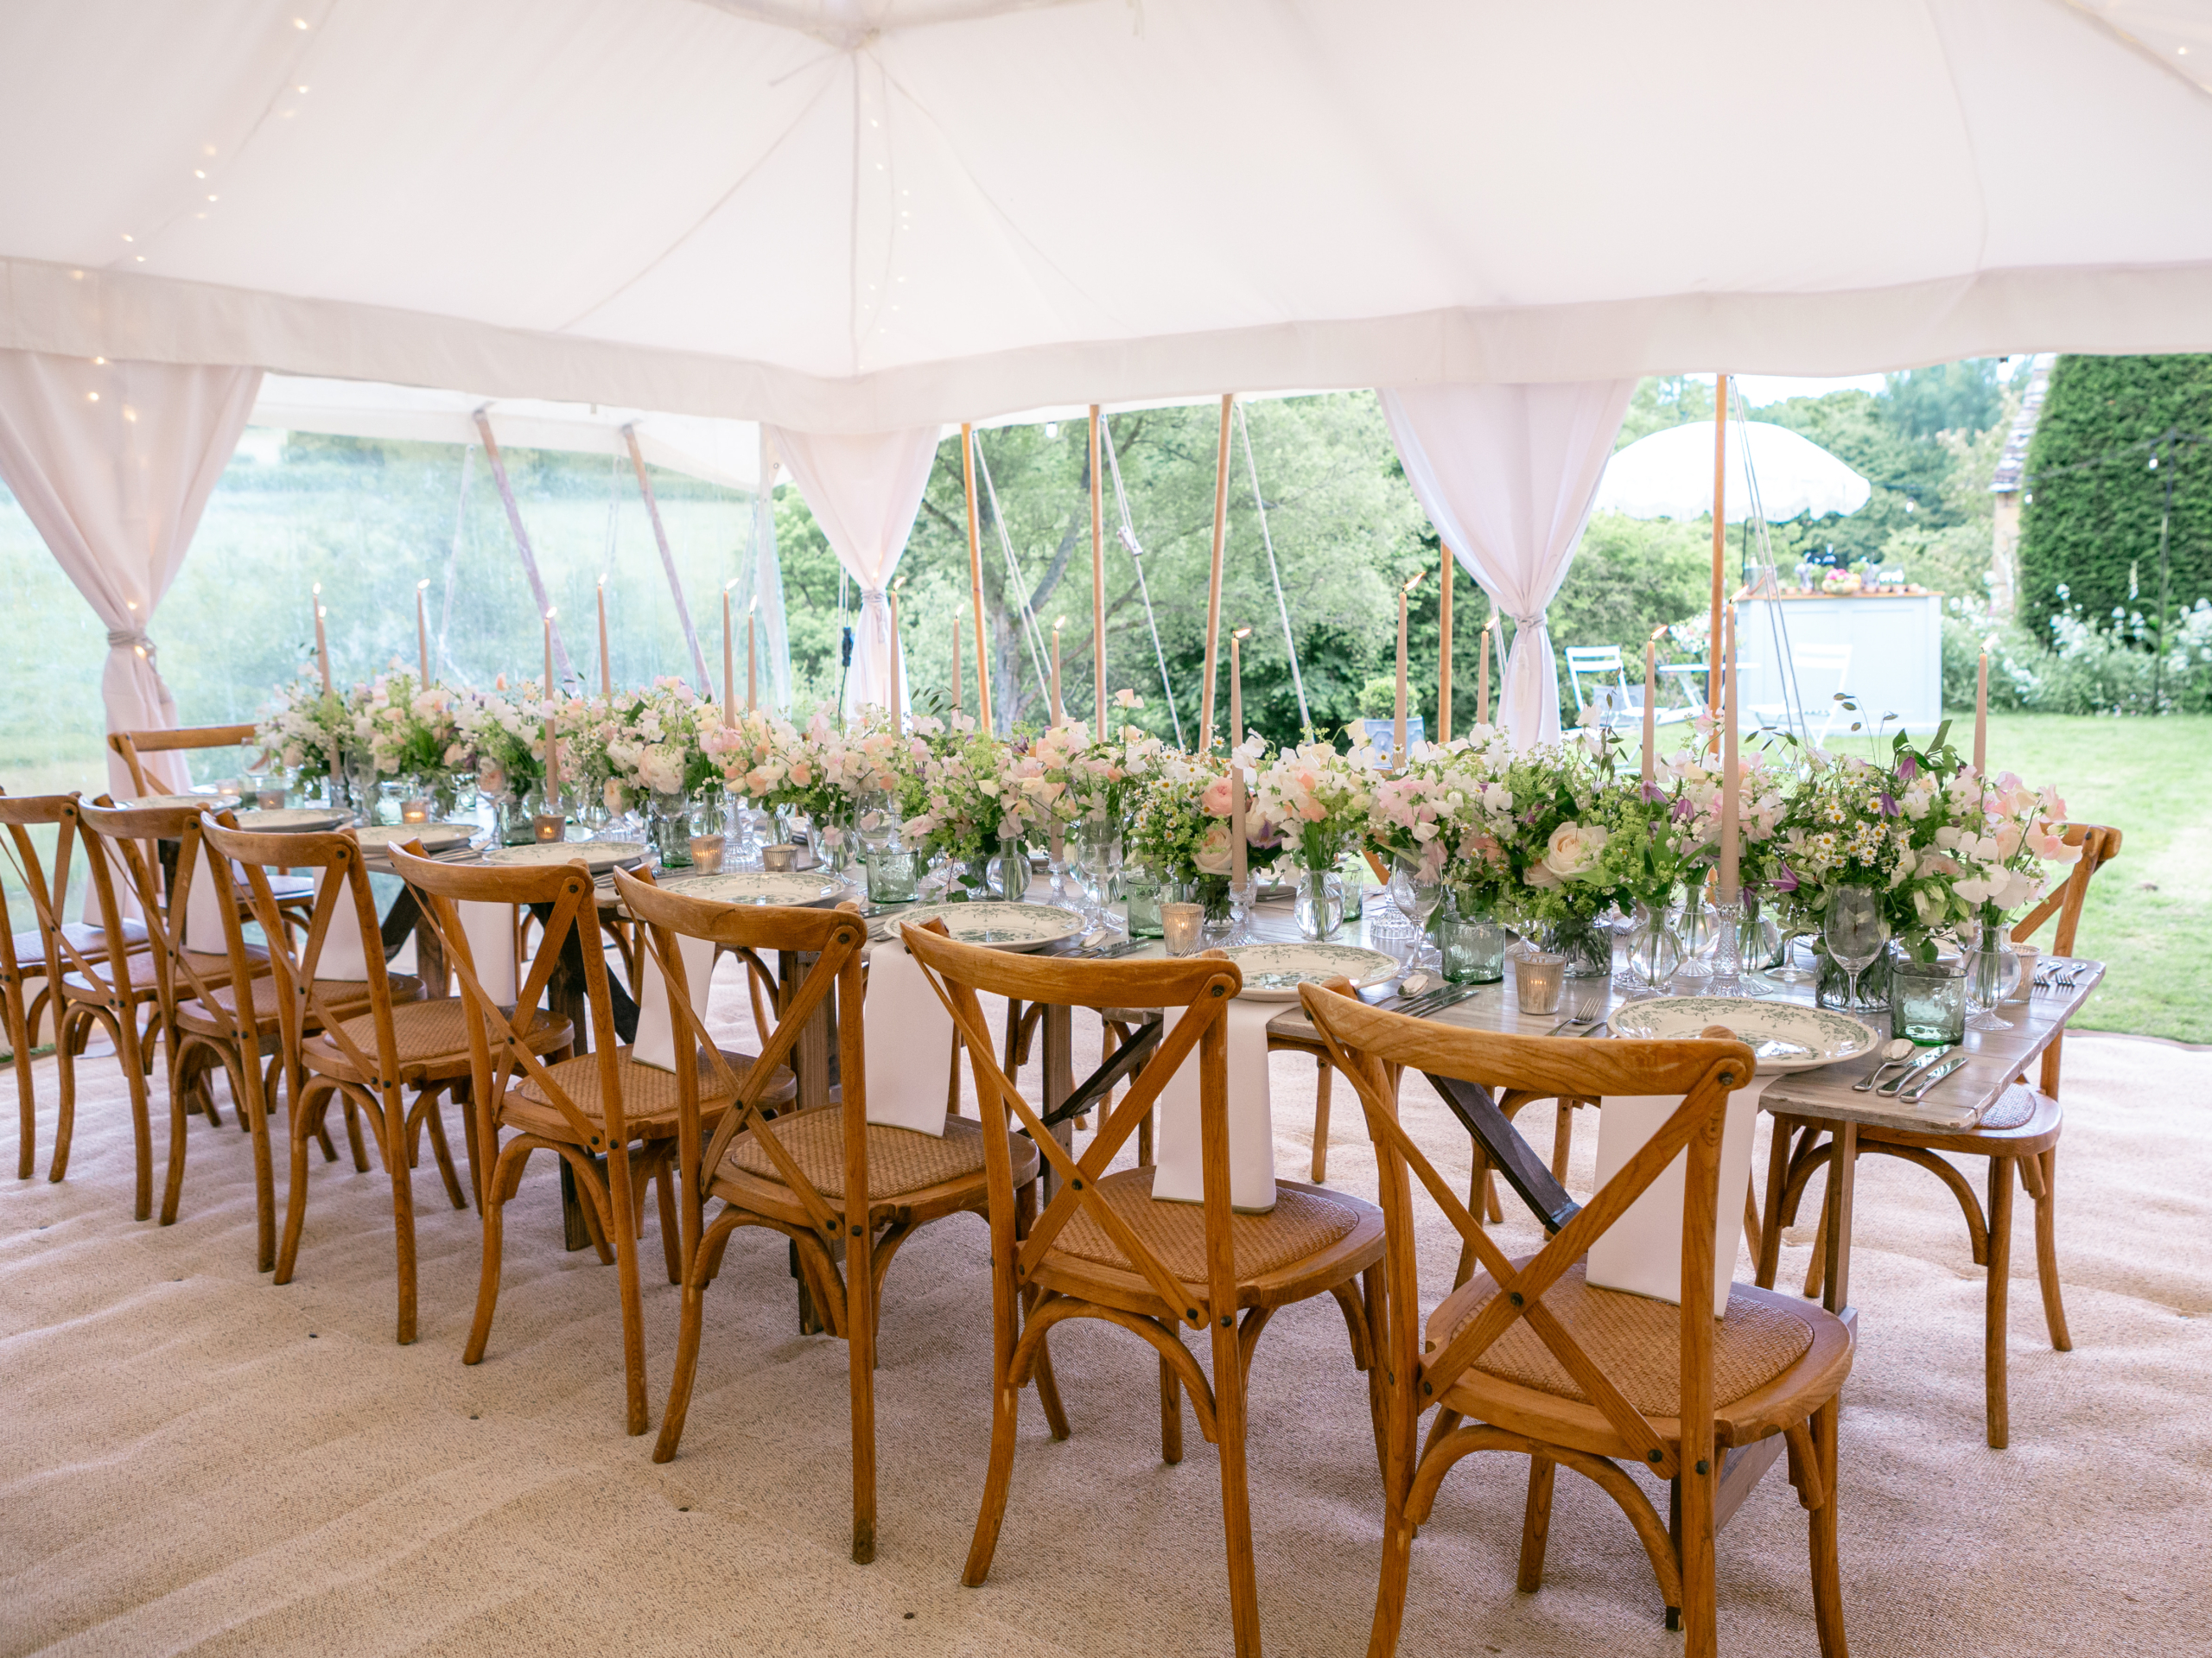
Step 6: Add Decorative Elements
Decorative elements bring the theme to life, personalising the event.
Centrepieces:
- Flowers, Candles, and Themed Items: Choose centrepieces that reflect the theme, such as floral arrangements, candles, or thematic props.
Table Settings:
- Linens and Tableware: Match tablecloths, napkins, and plates to the colour palette, adding layers of detail.
Additional Décor:
- Photo Booths and Signage: Personalised signs and themed decor, like a photo booth, enhance the event and provide fun memories and picture opportunities for your guests.

Step 7: Final Touches
The final touches ensure everything aligns perfectly.
Final Details:
- Personal Touches: Add custom stationery and table favours for a personal touch.
Final Walk-Through:
- Cohesion and Visual Appeal: Ensure all areas are cohesive and visually appealing, with seating arrangements comfortable and accessible.
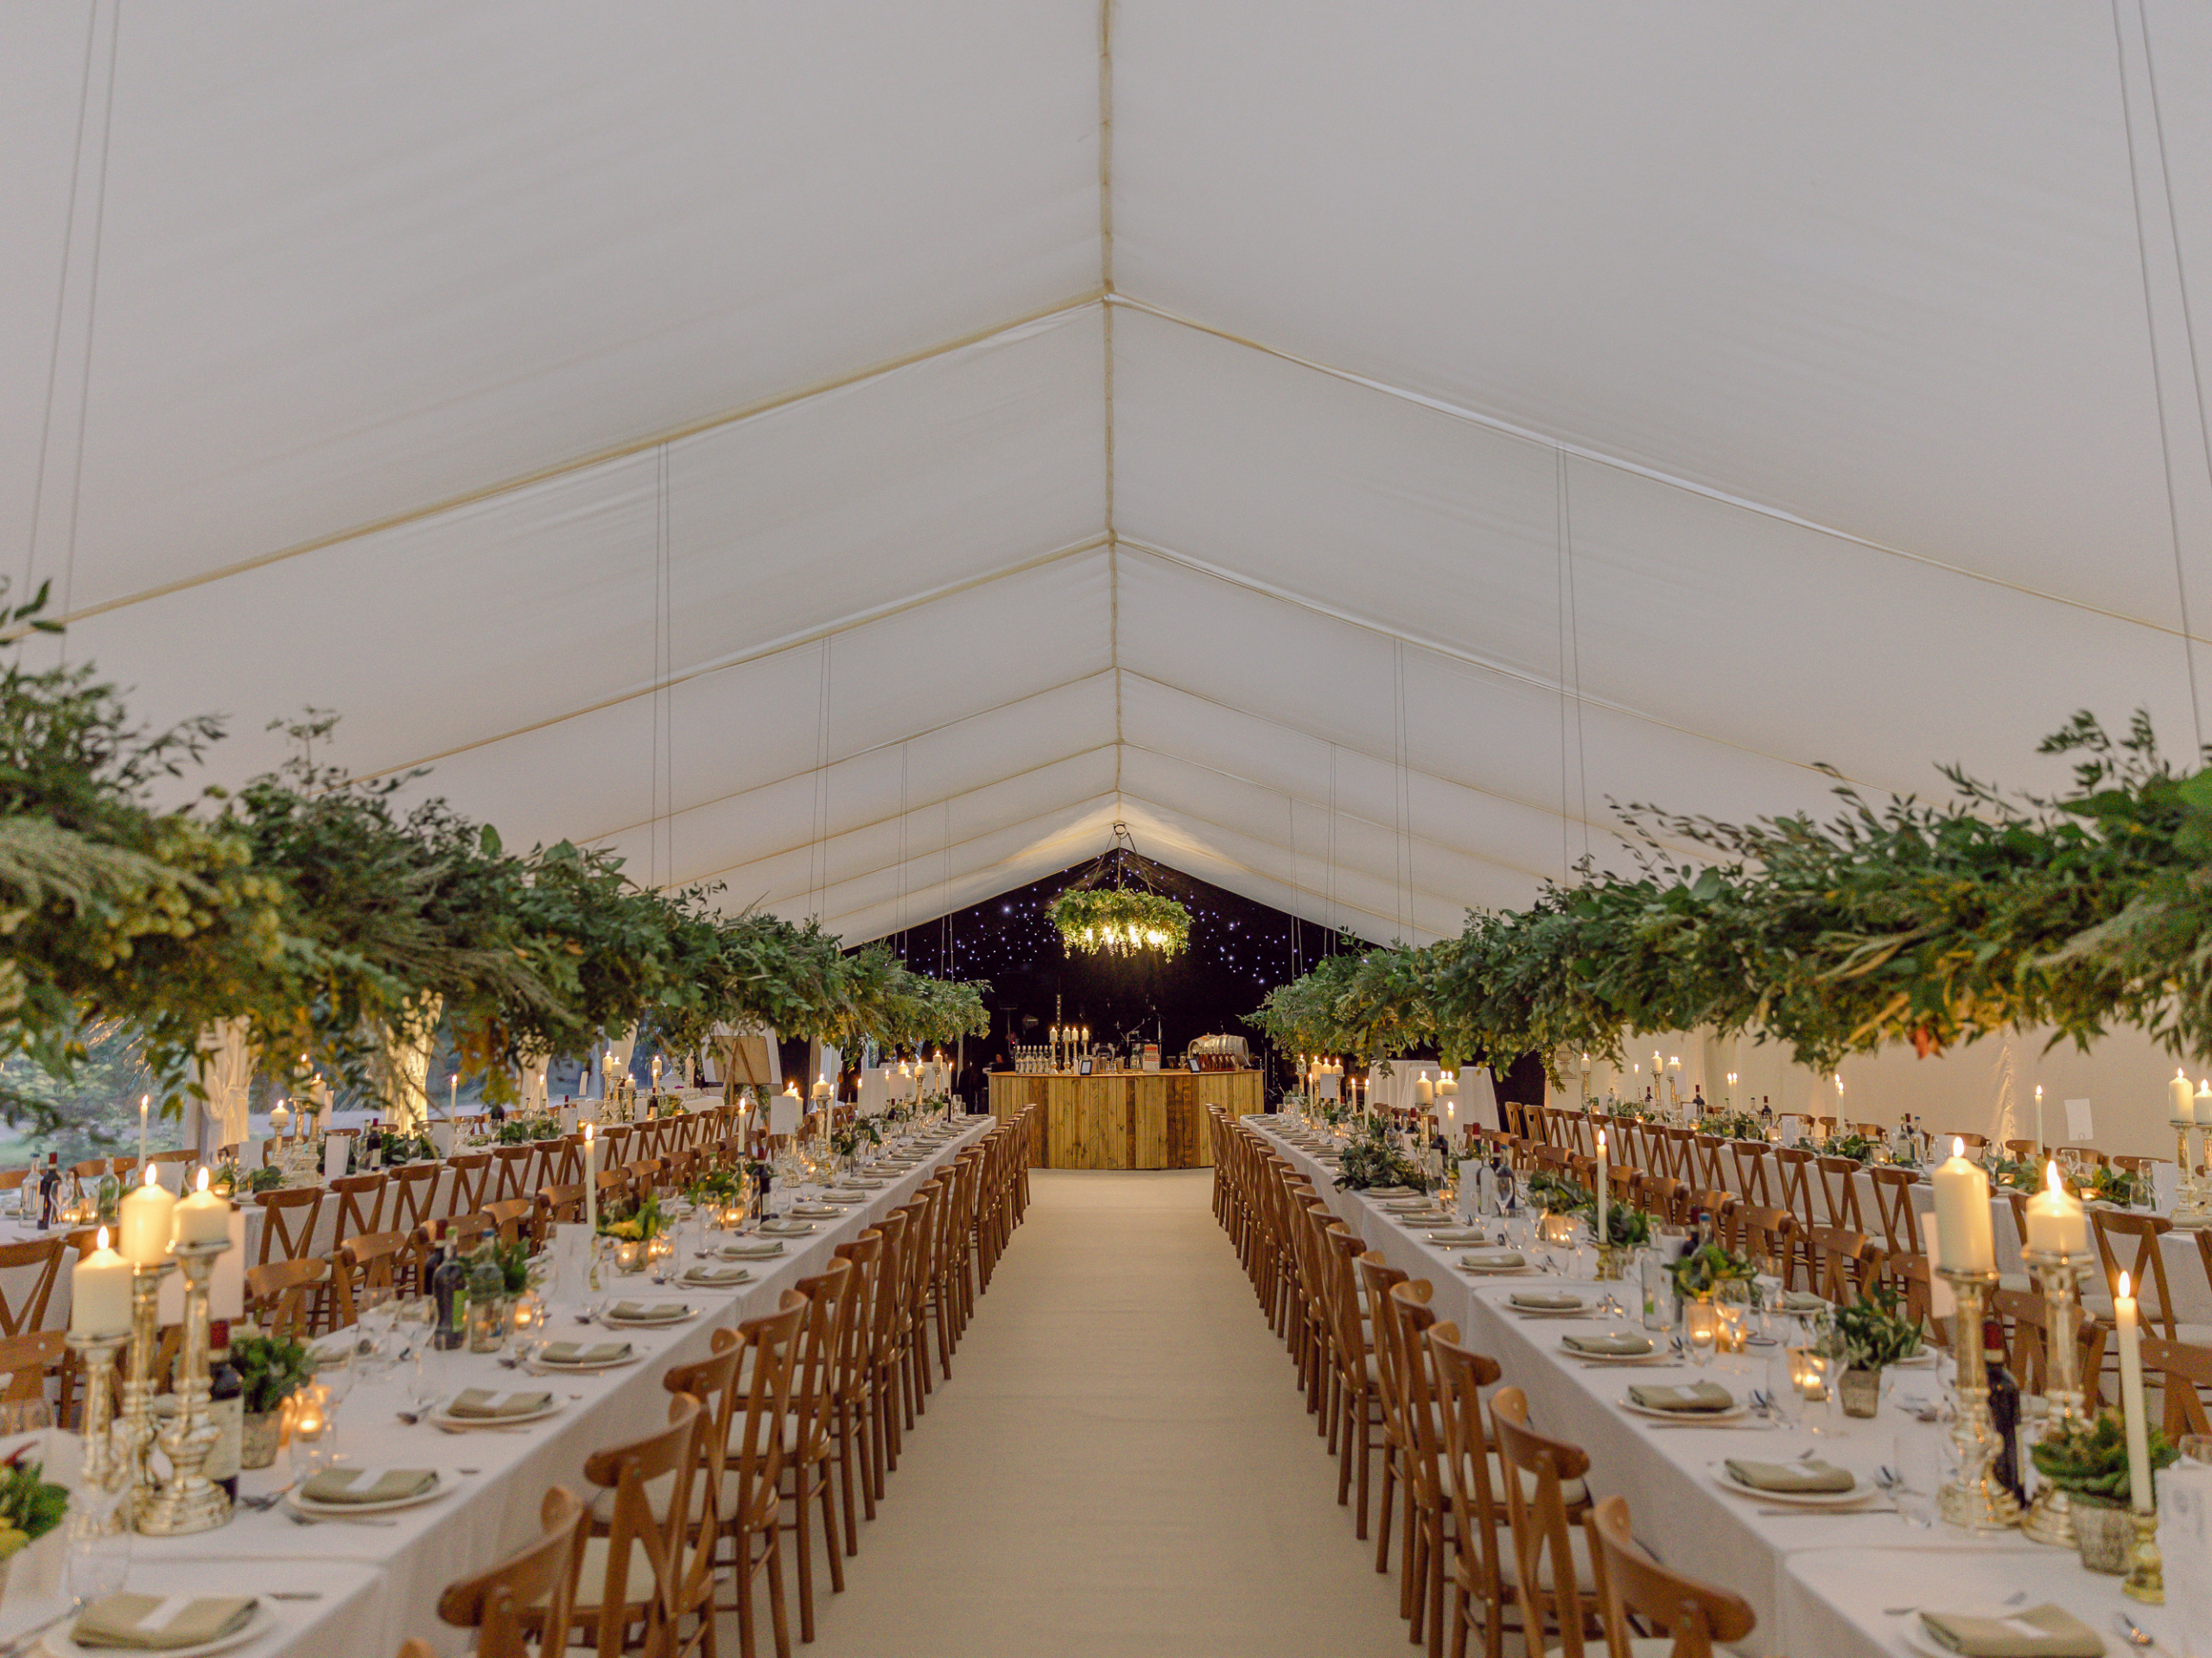
Decorating a wedding marquee is an opportunity to create a personalised and unforgettable setting. Careful planning and creativity can transform a simple tent into a magical space that reflects the couple’s love story and style. The versatility of a marquee allows for endless customisation, so have fun with the process. Let your imagination guide you in selecting colours, textures, and elements that resonate with your theme. This attention to detail ensures a beautiful backdrop for cherished memories on this special day.
READ NEXT: Inside A Magical Oxford Wedding Celebration


